Managing Forms in Aggregate
Warning
ODK Aggregate is no longer being updated. Please use ODK Central instead.
You can add, download and delete forms, export data into useful formats, publish data into another service, manually upload submissions and view the published data. ODK Aggregate provides all these options under the Form Management tab.
View blank form list
Click on Forms list tab to see a list of all your forms.
From here, you can add new forms, delete forms, download forms as well as restrict submissions for a form.
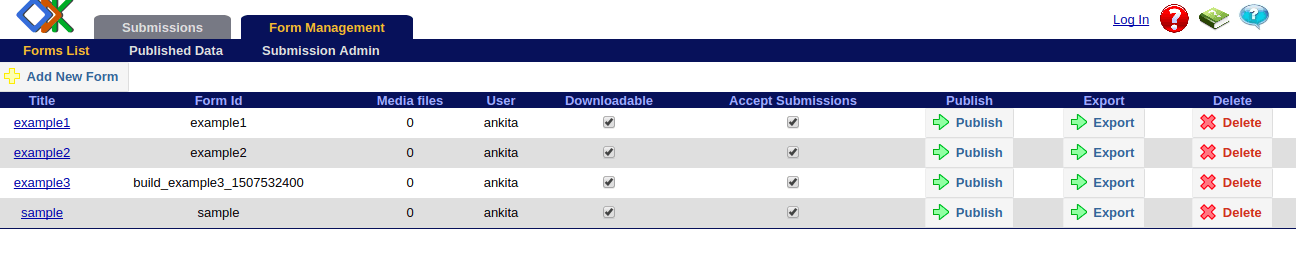
Blank form info in list
In addition to the functional columns described below, the form list displays the following information about each form.
Form Id is the unique name for the form.
Media Files is the count of media files associated with the form.
User is the user who uploaded the form.
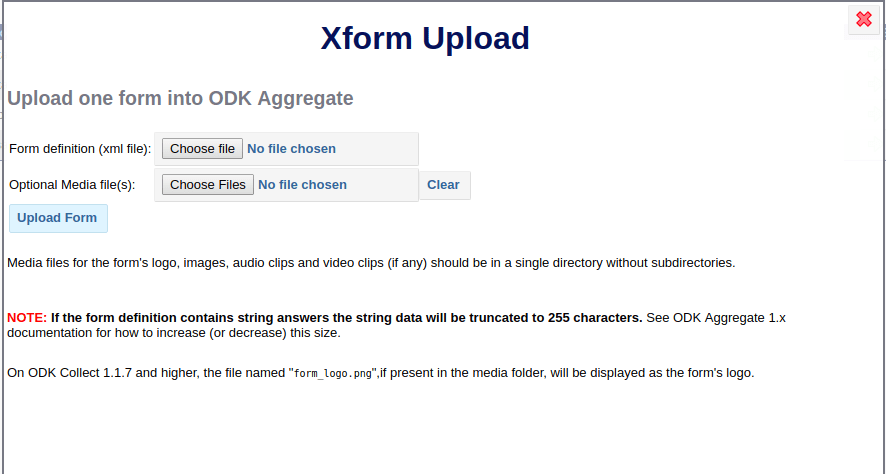
Adding New Forms
Under the Form list tab, you will see Add New Form button to upload a new form definition to ODK Aggregate.
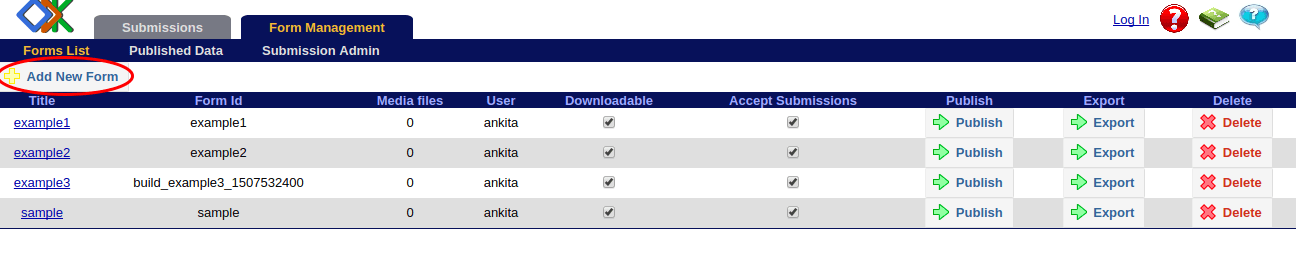
When you click on it a box will open asking for details of the form. Form Definition is required and Media File(s) is optional. Choose the .xml file that will be used. You can also choose the appropriate media files for the form.
Viewing and downloading forms
From the form list, click on form's Title to view the XForm (the actual XML file). You can then download the file by clicking on Download XML in the Form XML Viewer.

Note
Please, be aware that Aggregate doesn't store the original uploaded blank form. Instead, it rebuilds a blank form with what's stored in the database. This implies that there could be some slight differences:
All blank forms downloaded from Aggregate will include an XML comment with the build date.
Any left padding with zeroes will be lost on the form's version number if it was originally present (000042 will become 42).
Disabling or enabling downloading of a form
To disable or enable the ability of Collect or other clients to download forms, toggle the checkbox in the Downloadable column of the blank forms list.
Disabling or enabling submission of a form
To disable or enable the ability of Collect or other clients to submit completed instances of a form, toggle the checkbox in the Accept Submissions column of the blank forms list.
Deleting a blank form
Click on the Delete button for the form in the blank forms list.
Exporting form data
Click on Export option in the form list to export form into useful formats and choose the format in which you want to export data. You can also choose a filter which you have saved for the form to export only a certain subset of the form. Details on exporting data are given in the data transfer section.
Publishing form data
Click on Publish option in the form list to publish the form into another service. You can choose where you want to publish data and which data you want to publish. Details on publishing data are given in the data transfer section.
Viewing published data
You can get a view of the published data you have created for a particular form by clicking on Published Data.
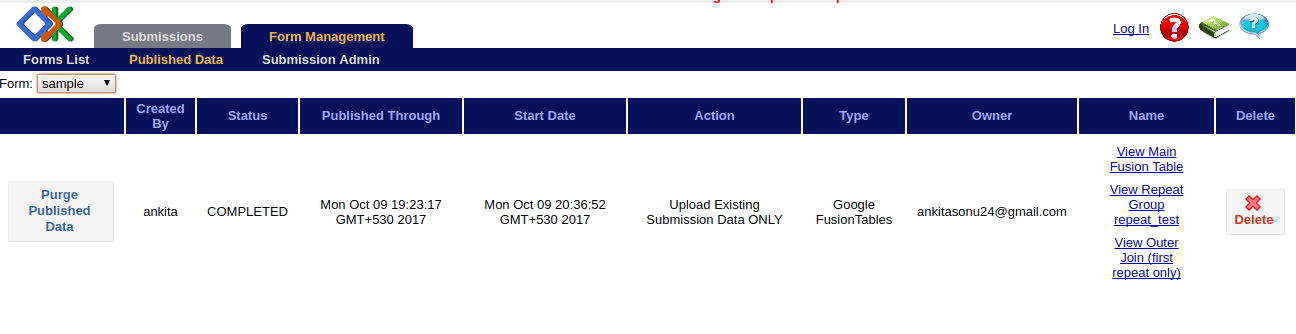
Select the form corresponding to the published data in the Form dropdown.
Read the message that appears and click on Purge Published Data.
Created By shows the email of the user who created the published file.
Status can be ACTIVE (the file is ready to view) or ESTABLISHED (something went wrong in the process of exporting.)
Start Date shows the time when you finished filling out the Publish form.
Action is based on your selection of upload only, stream only, or both in the Publish form.
Type shows the type you choose to publish your data to.
Owner shows the owner of the published data.
Name is the place where you published your data.
Select delete box in the Delete column if you want to delete your published file.
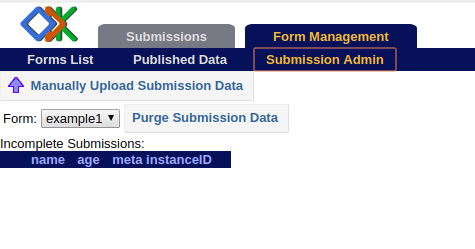
Managing submissions manually
You can manually upload submissions for a form and check incomplete submissions under the Submission Admin tab.
Submitting forms directly
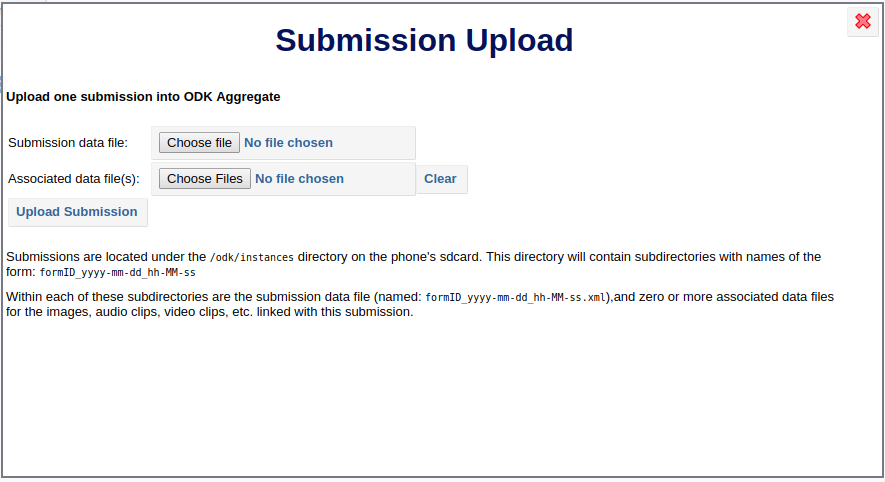
To manually upload form submissions, click on Manually upload submission data.
Note
Submissions in the Collect app are located under the /odk/instances directory on the phone's SD card. This directory will contain subdirectories with names of the form in the format formID_yyyy-mm-dd_hh-MM-ss. Within each of these subdirectories are the submission data file (formID_yyyy-mm-dd_hh-MM-ss.xml), and zero or more associated media files (images, audio, video) associated with this submission.
Note
If you upload a submission, but fail to upload all media attachments, it places the submission in the incomplete submissions bucket. While it resides there, it won't be published to external servers or downloadable via ODK Briefcase.
Removing form submissions
To remove a form submission, select the form in the Form dropdown and click on Purge Submission Data.
Incomplete form submissions
To see a list of incomplete submissions for a particular form under the Incomplete Submissions list.