ODK Build
Warning
ODK Build is no longer being updated. Please use XLSForm instead.
ODK Build is a form designer with a drag-and-drop user interface. Build is an HTML5 web application and works best for designing simple forms.
Using ODK Build
Go to https://build.getodk.org and sign in.

Note
There is a downloadable version of ODK Build available.
Tip
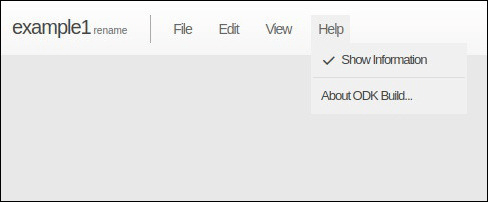
Clicking on option in the Help menu provides basic information about ODK Build.

Creating and Saving forms
Options to create, open and save forms are available in the File menu.
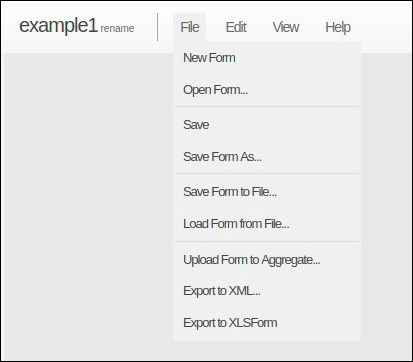
Click on to start creating a new form.
Tip
When you start building a form on ODK Build, it is named as Untitled Form. To rename it click on rename next to the form name and give a name to your form.

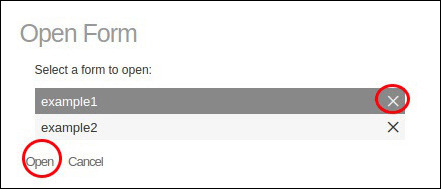
Click on to open a saved form and edit it. Select the form and click on Open option in the open form window. You can also delete a saved form by clicking on X beside the form name.
To save a form click on . If you want to save an edited version of a previously saved form as a new form, click on and provide a name to the form.
To save your form on your local machine, click on . You can open a form saved into your local machine by clicking on .
Note
Forms which are saved to your local machine have extension .odkbuild and only these forms can be loaded into ODK Build.
Form building
Add a new prompt, by dragging the elements from the bottom of the screen onto the blank canvas.
You can remove a prompt by clicking on X sign on the prompt.

For each prompt, modify its properties on the right portion of the screen.

Prompts can also be rearranged through drag and drop.
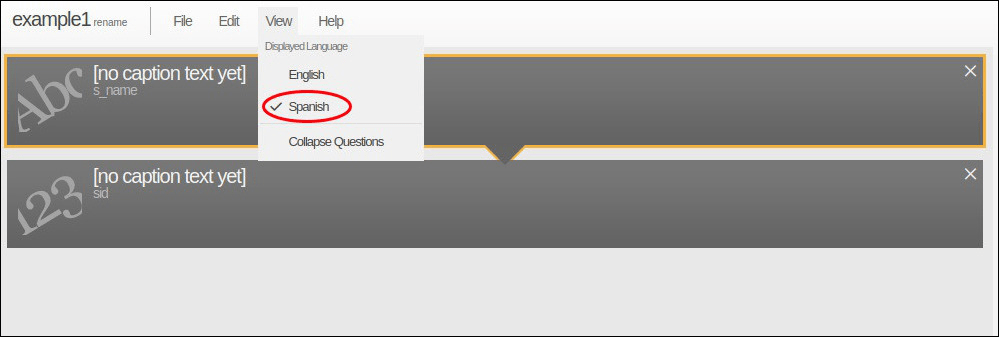
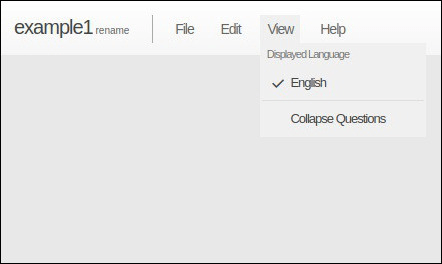
You can collapse the question prompts by checking the option in the View menu.

Information about prompts is displayed in the properties section.

Unchecking the option in the Help menu will hide the information which is displayed in properties section.
Upload forms to Aggregate
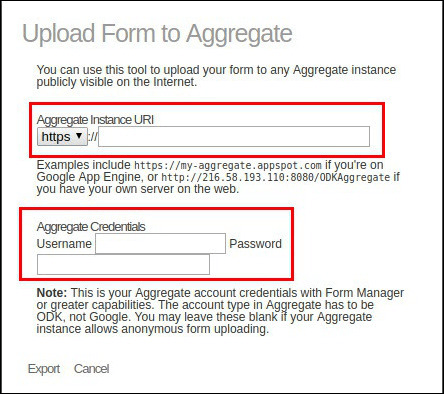
You can upload a form to Aggregate server by clicking on in the File menu. In the window which opens up, enter the url for your Aggregate server. In the username and password box, you need to enter your Aggregate account credentials with Form Manager or greater capabilities. The account type in Aggregate has to be ODK, not Google. You may leave these blank if your Aggregate instance allows anonymous form uploading.
Export forms
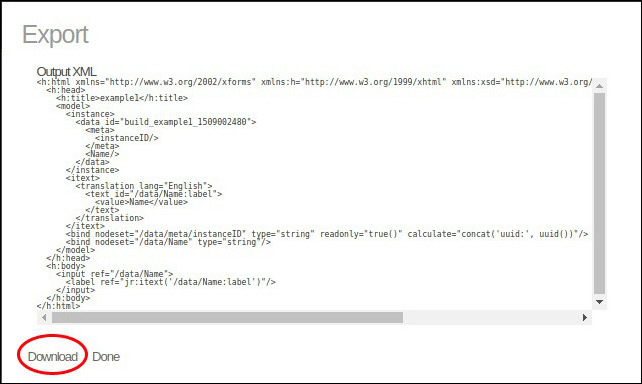
To view XML for your form, click on in the File menu. You can download the
.xmlfile for your form by clicking on Download option in the output XML window.
You can download
.xlsxfile for your form by clicking on in the File menu.
Changing form properties
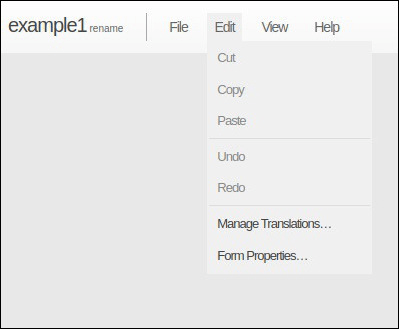
You can change the form properties by clicking in the Edit menu.
A form properties window will appear, where you can enter the instance name, public key and submission url for your form.
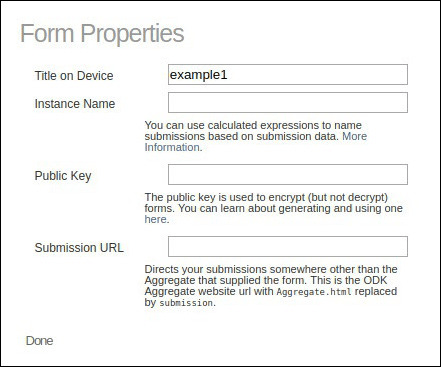
Instance name specifies names you want to give to submitted data. You can see more info on public key here. Submission url directs your submissions somewhere other than the Aggregate that supplied the form. This is the ODK Aggregate website url with Aggregate.html replaced by submission.
Tip
You can give an instance name which uses calculated expressions to name submissions based on submission data. Note that whatever you put in the instance name box should evaluate to a string.
For example, you might use a concatenation of a unique student ID (sid) with the student name (s_name) as the name of the filled-in form. So you can provide a instance name as : concat(${sid},' - ', ${s_name}).
This is implemented in XML as an instanceName field within the meta block. If this value is present and not an empty string (""), it will be used as the name of the filled-in form. Otherwise, the current default naming, based upon the date the form was first saved, will be used.
<instance>
  <data id="build_example1_1508999324">
    <meta>
      <instanceID/>
      <instanceName/>
    </meta>
    <s_name/>
    <sid/>
  </data>
</instance>
Add, remove and display new languages
You can add a new language for your form by clicking on in the Edit menu.
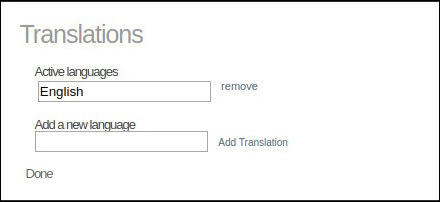
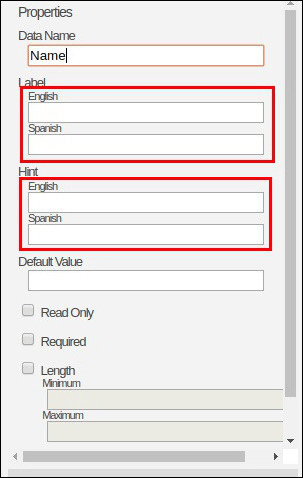
When you add a new language, the language box will be displayed in the properties section of the form.
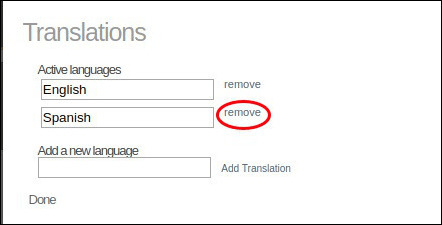
You can also remove any translation by clicking on remove option in the Translation box.
You can change the display language for your form by checking the language you want to use as display language in the View menu.
