Using Collect Settings
Collect has many settings to support a number of different data collection workflows. Settings are specific to each project and are separated into general and protected settings. Protected settings make it possible to remove access to certain parts of Collect and can be password-protected.
- Settings for the current project are accessed from the project list dialog:

General Settings
Server Settings
Server settings configure the connection to an OpenRosa Protocol server (Central, etc).
- To access Server Settings:

See also
Project Display Settings
Project display settings control the name of the current project as well as the appearance of its icon in the upper right of the main screen.
To access Project Display Settings:
See also
User Interface Settings
User Interface settings control Collect's appearance and behavior.
- To access User Interface settings:

Theme
Selects the color scheme the app will use. The default Use device theme option (added in ODK Collect v2021.3) uses the device's color theme (based on the the Dark theme system setting in Android 10 and above).


Language
Forces the Collect interface to use a specific language. By default, Collect matches the device language. Note that this only sets the language for the Collect user interface and not for the form. For forms with multiple languages, the form language is set while filling out the form.
Note
Collect's translations are provided by the ODK community through the Transifex service. You can join Transifex to add or correct translations in your language.
Text font size
Sets the size of fonts used in the form-filling interface.
Maps Settings
Maps settings configure the maps shown by the location question types.
- To access Maps settings:
Note
Prior to ODK Collect v1.23, map settings were available in the User Interface Settings. The basemap was configured by first selecting a Mapping SDK and then a Basemap.
Basemap settings
Basemap settings configure the background of maps shown by the location question types. Basemaps are provided by several different Sources which may each make several different map Styles available. A basemap is intended to provide details that help users orient a map and to make the map easy to use in a particular data collection environment. For example, if the data to be collected relates to elevation, consider selecting a topographic basemap.
- Sources
A basemap source provides one or more map styles:
Google basemap styles are used by Google Maps and other Google products.
Mapbox basemap styles are used in many familiar products.
OpenStreetMap provides one style which also powers openstreetmap.org. OpenStreetMap data is used in basemaps provided by all other sources as well.
USGS is the United States Geological Survey. It provides topograpic and satellite basemaps for the United States only.
Carto basemap styles are designed to be used with data layers.
Reference layer settings
Reference layer settings configure map data shown on top of the basemap. Currently, a reference layer can only be defined by an offline MBTiles file as described in Using Offline Maps. The reference layer will appear when the zoom level is within the range supported by the file. If a reference layer has no transparency, it will fully cover the basemap selected above and behave like an offline basemap. Vector MBTiles files will only be available in the Layer data file menu if a Mapbox basemap is selected. Raster MBTiles files will be available for any basemap source and style.
Form Management Settings
Form Management settings control default behavior when editing, finalizing, and importing forms.
- To access Form Management settings:


Form update
Blank form update mode
Specifies how blank forms should be updated:
- Manual
The default mode in Collect. Enumerators manually manage blank forms on the device using Get Blank Form and Delete Saved Form.
- Previously downloaded forms only
Enumerators will receive a notification when one or more forms on the device have an update available to their form definition or media files. Tapping on the notification will go to Get Blank Form where the user can choose to download some or all of the updated forms.
- Exactly match server
Collect will automatically download and update forms based on what's on the server. In addition, forms not on the server will be deleted from Collect. This mode hides Get Blank Form and the Blank Forms tab in Delete Saved Form as they are not required. The enumerator can trigger an update from the server on the Fill Blank Form screen. Filled instances of blank forms deleted during server updates will still be editable. This is the default when using a Central App User.
Tip
If your server is configured to provide the exact set of forms enumerators need and you'd like to ensure they always have the most up to date versions on device then we recommend using Exactly match server.
However, if your server is set up to provide forms that aren't relevant to every enumerator then we recommend using Previously downloaded forms only (ideally with Automatic download) so that enumerators are still notified when the forms they do use are updated.
Manually makes the most sense when forms only need to be downloaded once and will never change or if you are extremely bandwidth-limited.
Automatic update frequency
Specifies how frequently Collect should check for updates to the forms on the server when using Previously downloaded forms only or Exactly match server. This option is not available if Manually is selected.
Automatic download
Only available if Previously downloaded forms only is selected. When Automatic download is enabled, the form update check will trigger an automatic download of any forms on the device that have updated definitions or media files. The user will receive a notification when the automatic download completes with either a success or failure. Tapping on the notification will go to Get Blank Form where the user will see success or failure messages for each form for which an update was attempted.
Hide old form versions
When enabled, if there are multiple versions of the same form, only the most recently downloaded will be displayed on the Fill Blank Form screen.
Form submission
Auto send
When enabled, forms are sent immediately when they are finalized, if the device can connect to the Internet. If an Internet connection is not available at the time of finalization, your finalized forms will be queued to send as soon as connectivity is established. You can specify whether to send over WiFi, cellular data, or both.
Delete after send
When enabled, filled forms are deleted as soon as they are sent. This deletes the form data but leaves the forms listed in the Sent form list.
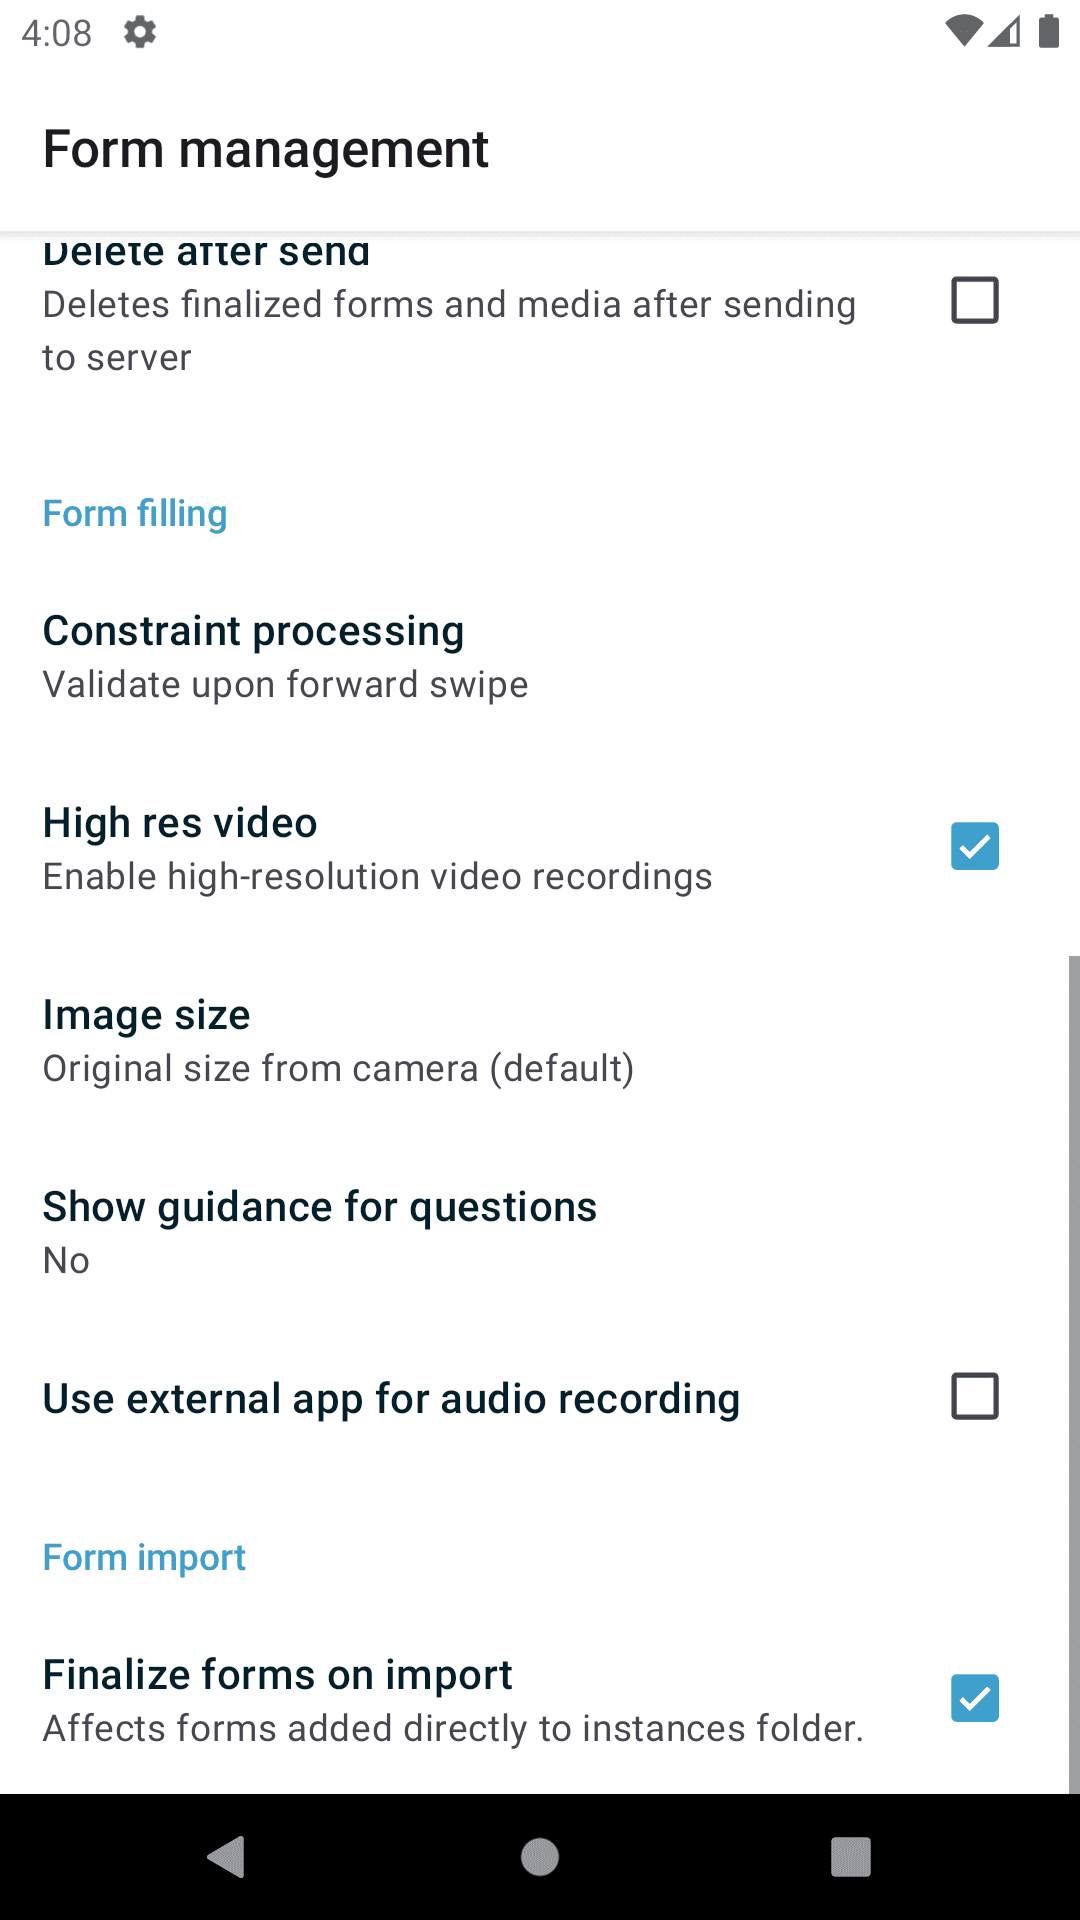
Constraint processing
Sets when form responses are validated against constraints.
Options:
Upon forward swipe. (That is, right after the question is answered.)
At finalization.
High res video
When enabled, Video widgets widgets will record high resolution video if possible.
Image size
Added in version 1.11.0.
Sets the default maximum size for images added to forms, as measured by the number of pixels on the longest edge. Images larger than the maximum are scaled down immediately after being added.
Options:
- Original size from camera (default)
Images are unchanged when added to a form. Recommended for use only when images must contain a lot of detail and when the internet connection used to send submissions is fast.
- Very small (640 px)
Recommended when images don't need to be detailed or the internet connection used to send submissions is slow.
- Small (1024 px)
Sufficiently detailed for most on-screen viewing but too small for printing.
- Medium (2048 px)
Sufficiently detailed for most uses, including printing.
- Large (3072 px)
Recommended when a lot of detail is needed, but you want to reduce the size of image files as much as possible.
Show guidance for questions
Guidance hints on questions can be used to display additional information that is not always needed. For example, they can be used to show extra instructions to be used during training or valuable only on a printout. If set to Yes - always shown, guidance hints will always be displayed below regular hints. If set to Yes - collapsed, the user will need to tap to view guidance hints.
Use external app for audio recording
By default, an internal recorder is used for audio recording. Check this setting to use the external audio application instead. When unchecked, recordings will be created as mono
.m4afiles using theAACcodec with a sample rate of 32 kHz and a bitrate of 64 kbps. This corresponds to a file size of about 30 MB/hour. We typically recommend configuring audio quality in the form definition instead of using this setting but it can be useful for older forms that can't be modified.
Form import
Finalize forms on import
When enabled, forms added directly to the
instances/directory are automatically set to Finalized. This is particularly relevant when putting records for an encrypted form directly to the device because encryption happens on finalization.
User and Device Identity Settings
User and device identity settings control how personally identifiable information and device ID are used.
- To access User and device identity settings:

Form metadata settings
Form metadata settings control identifying information added to forms filled on the device.
- To access form metadata settings:

User-defined
You can edit the following:
Username
Phone number
Email address
Note
If no username is set here, the username from Server settings is used instead.
You can restrict editing of the username in Protected settings.
Device-defined
You cannot edit these:
Device ID
Device ID is currently set to the Collect-generated Install ID.
Usage data
When enabled, ODK Collect sends anonymous usage and error data back to the ODK development team, which helps us improve the application.
Protected Settings
Protected settings manage other settings and features, letting you import or export settings, reset settings and delete cached data, and restrict which features are available to users of the app.
Protected settings are useful when you would like to limit the options available to enumerators so that they must follow a specific workflow.
You can password protect the protected settings, so enumerators cannot adjust settings or access restricted features.
Set admin password
If a password is set, when settings are opened, the Protected section will only contain Unlock protected settings. Tapping on that will display a dialog to provide the admin password. Before the correct admin password is provided, access controls will be in place and some settings may be hidden. Saving a blank password disables password protection.
Project management
- Reconfigure with QR code
Replace all settings from those in a QR code. See configuring Collect via QR code.
- Reset
Reset to default settings, delete forms, and empty caches. There is a prompt to select which aspects of the project to reset.
- Delete
Delete the current project.
Access control
User Settings
Displays a list of user settings and other features accessible in the settings screen. To hide features, uncheck them.
Form Entry Settings
Displays a list of features related to viewing and filling out forms. To disable features, uncheck them.
Moving backwards
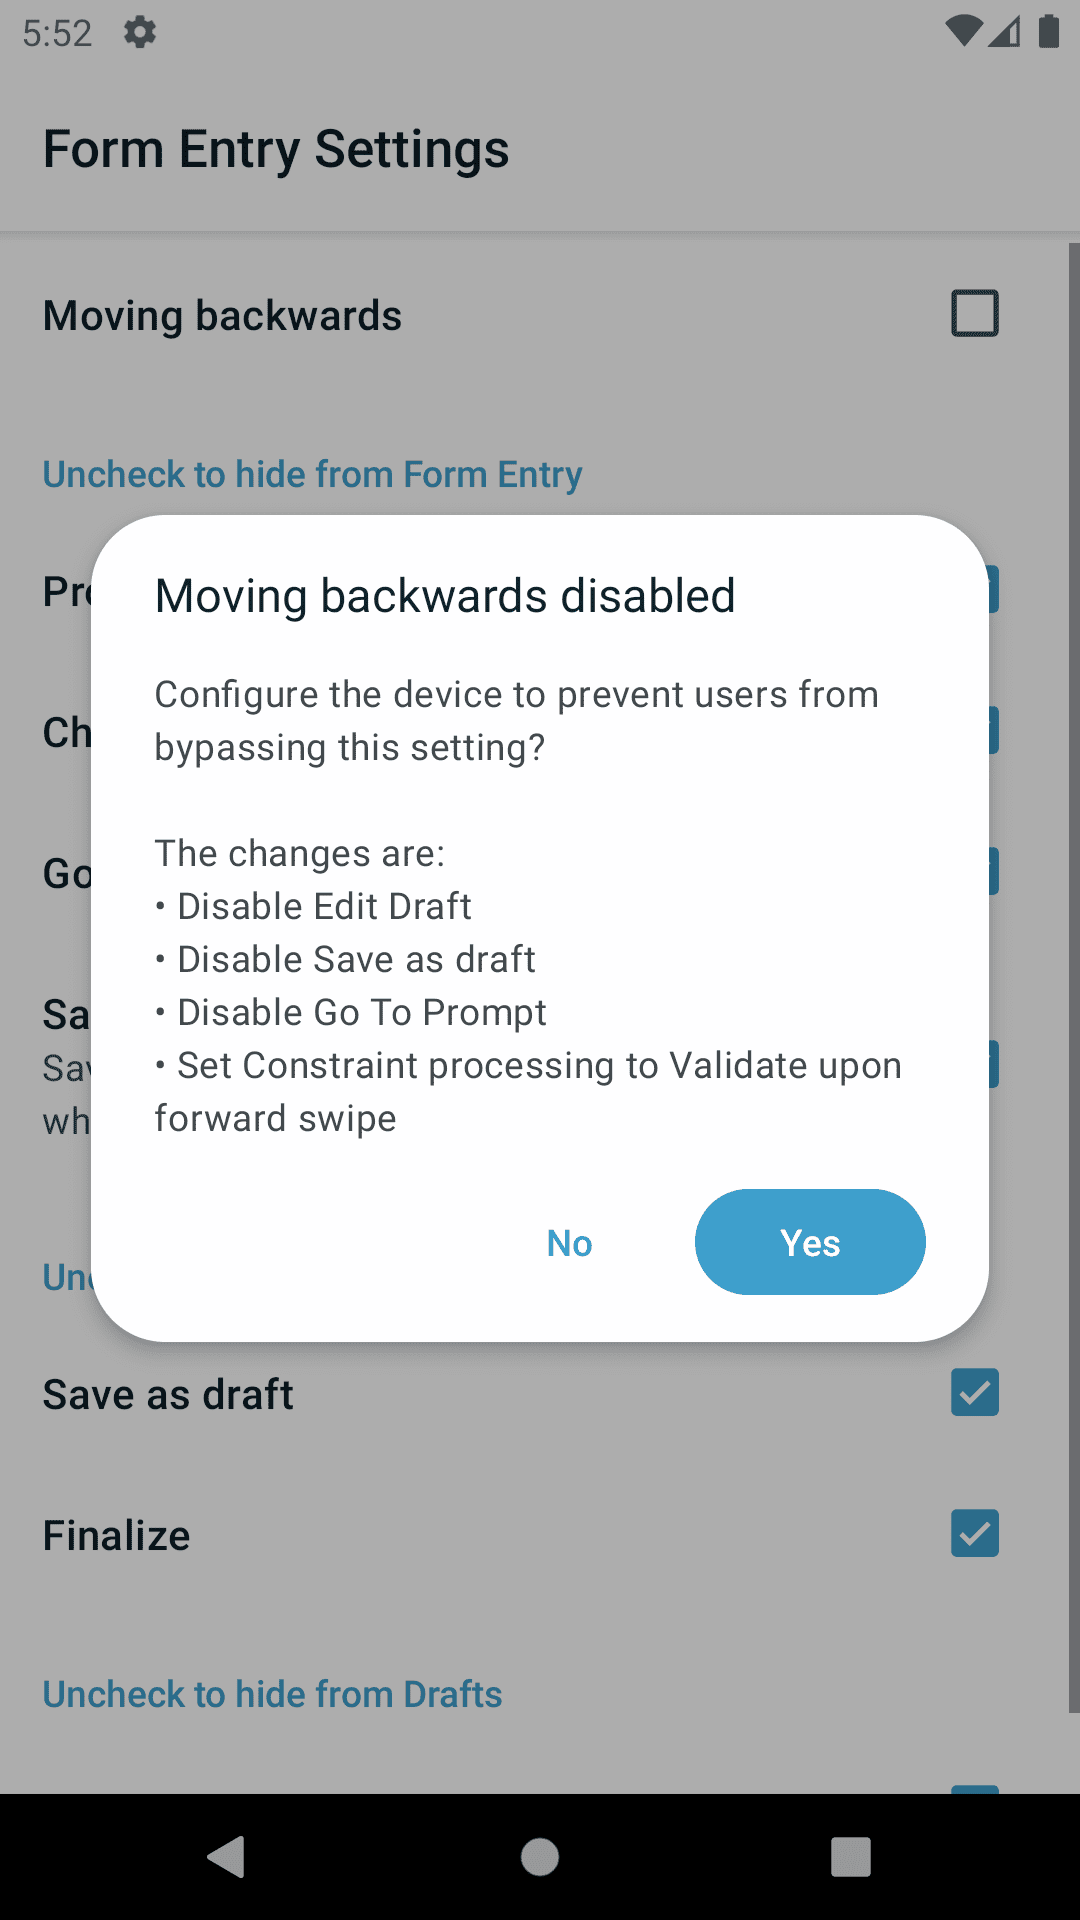
If you disable moving backwards, the enumerator cannot use the back button or swipe right to move backwards through a form.
However, disabling this feature does not completely restrict a user's ability to access already-answered questions. So, when you uncheck this box to restrict backward movement, the app will suggest several additional restrictions which will prevent a non-admin user from revisiting already-asked questions:
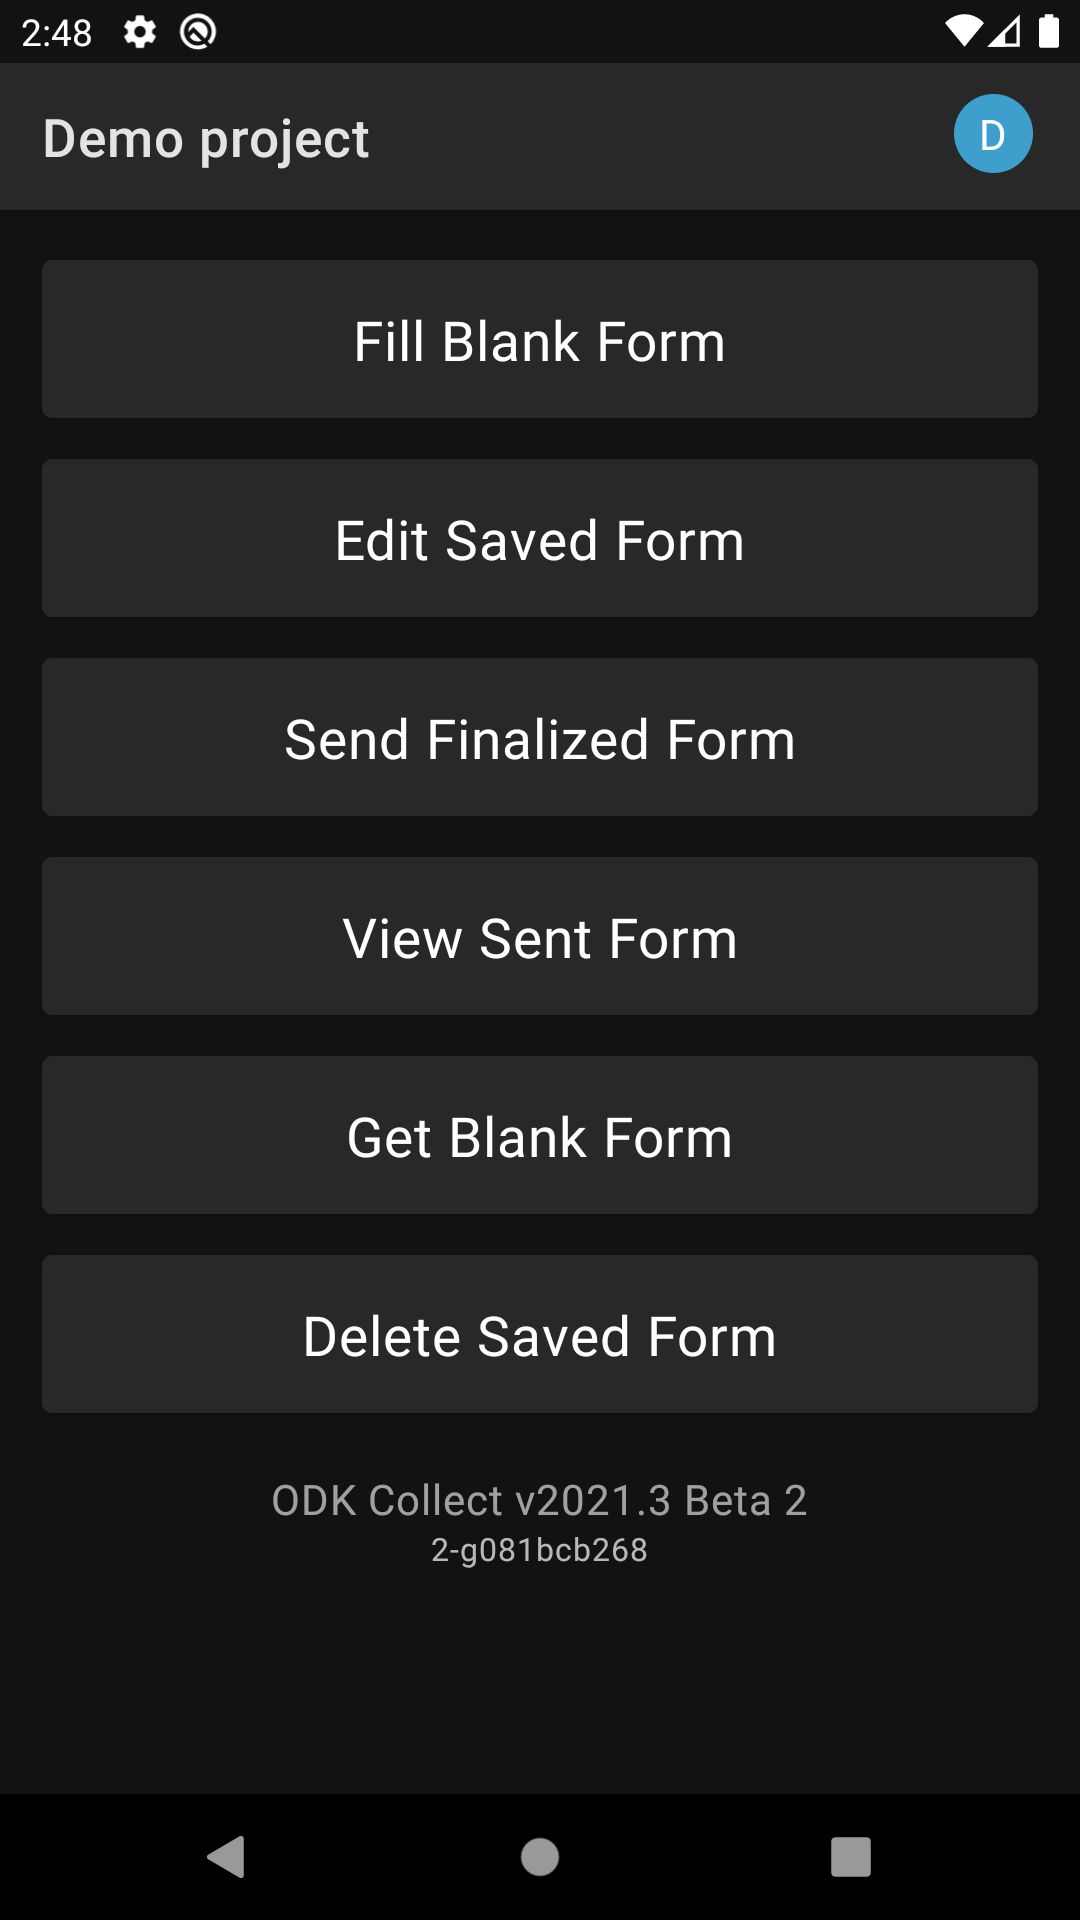
Disable Edit Draft option in the main menu
Disable Save as draft option in the Form entry menu
Disable Go To Prompt option in the Form entry menu
Set Constraint processing to validate upon forward swipe in the Form Management settings

Select YES to set these additional restrictions.
Note
When you enable the moving backwards option, you have to configure the other changed settings since they are not automatically changed back.
